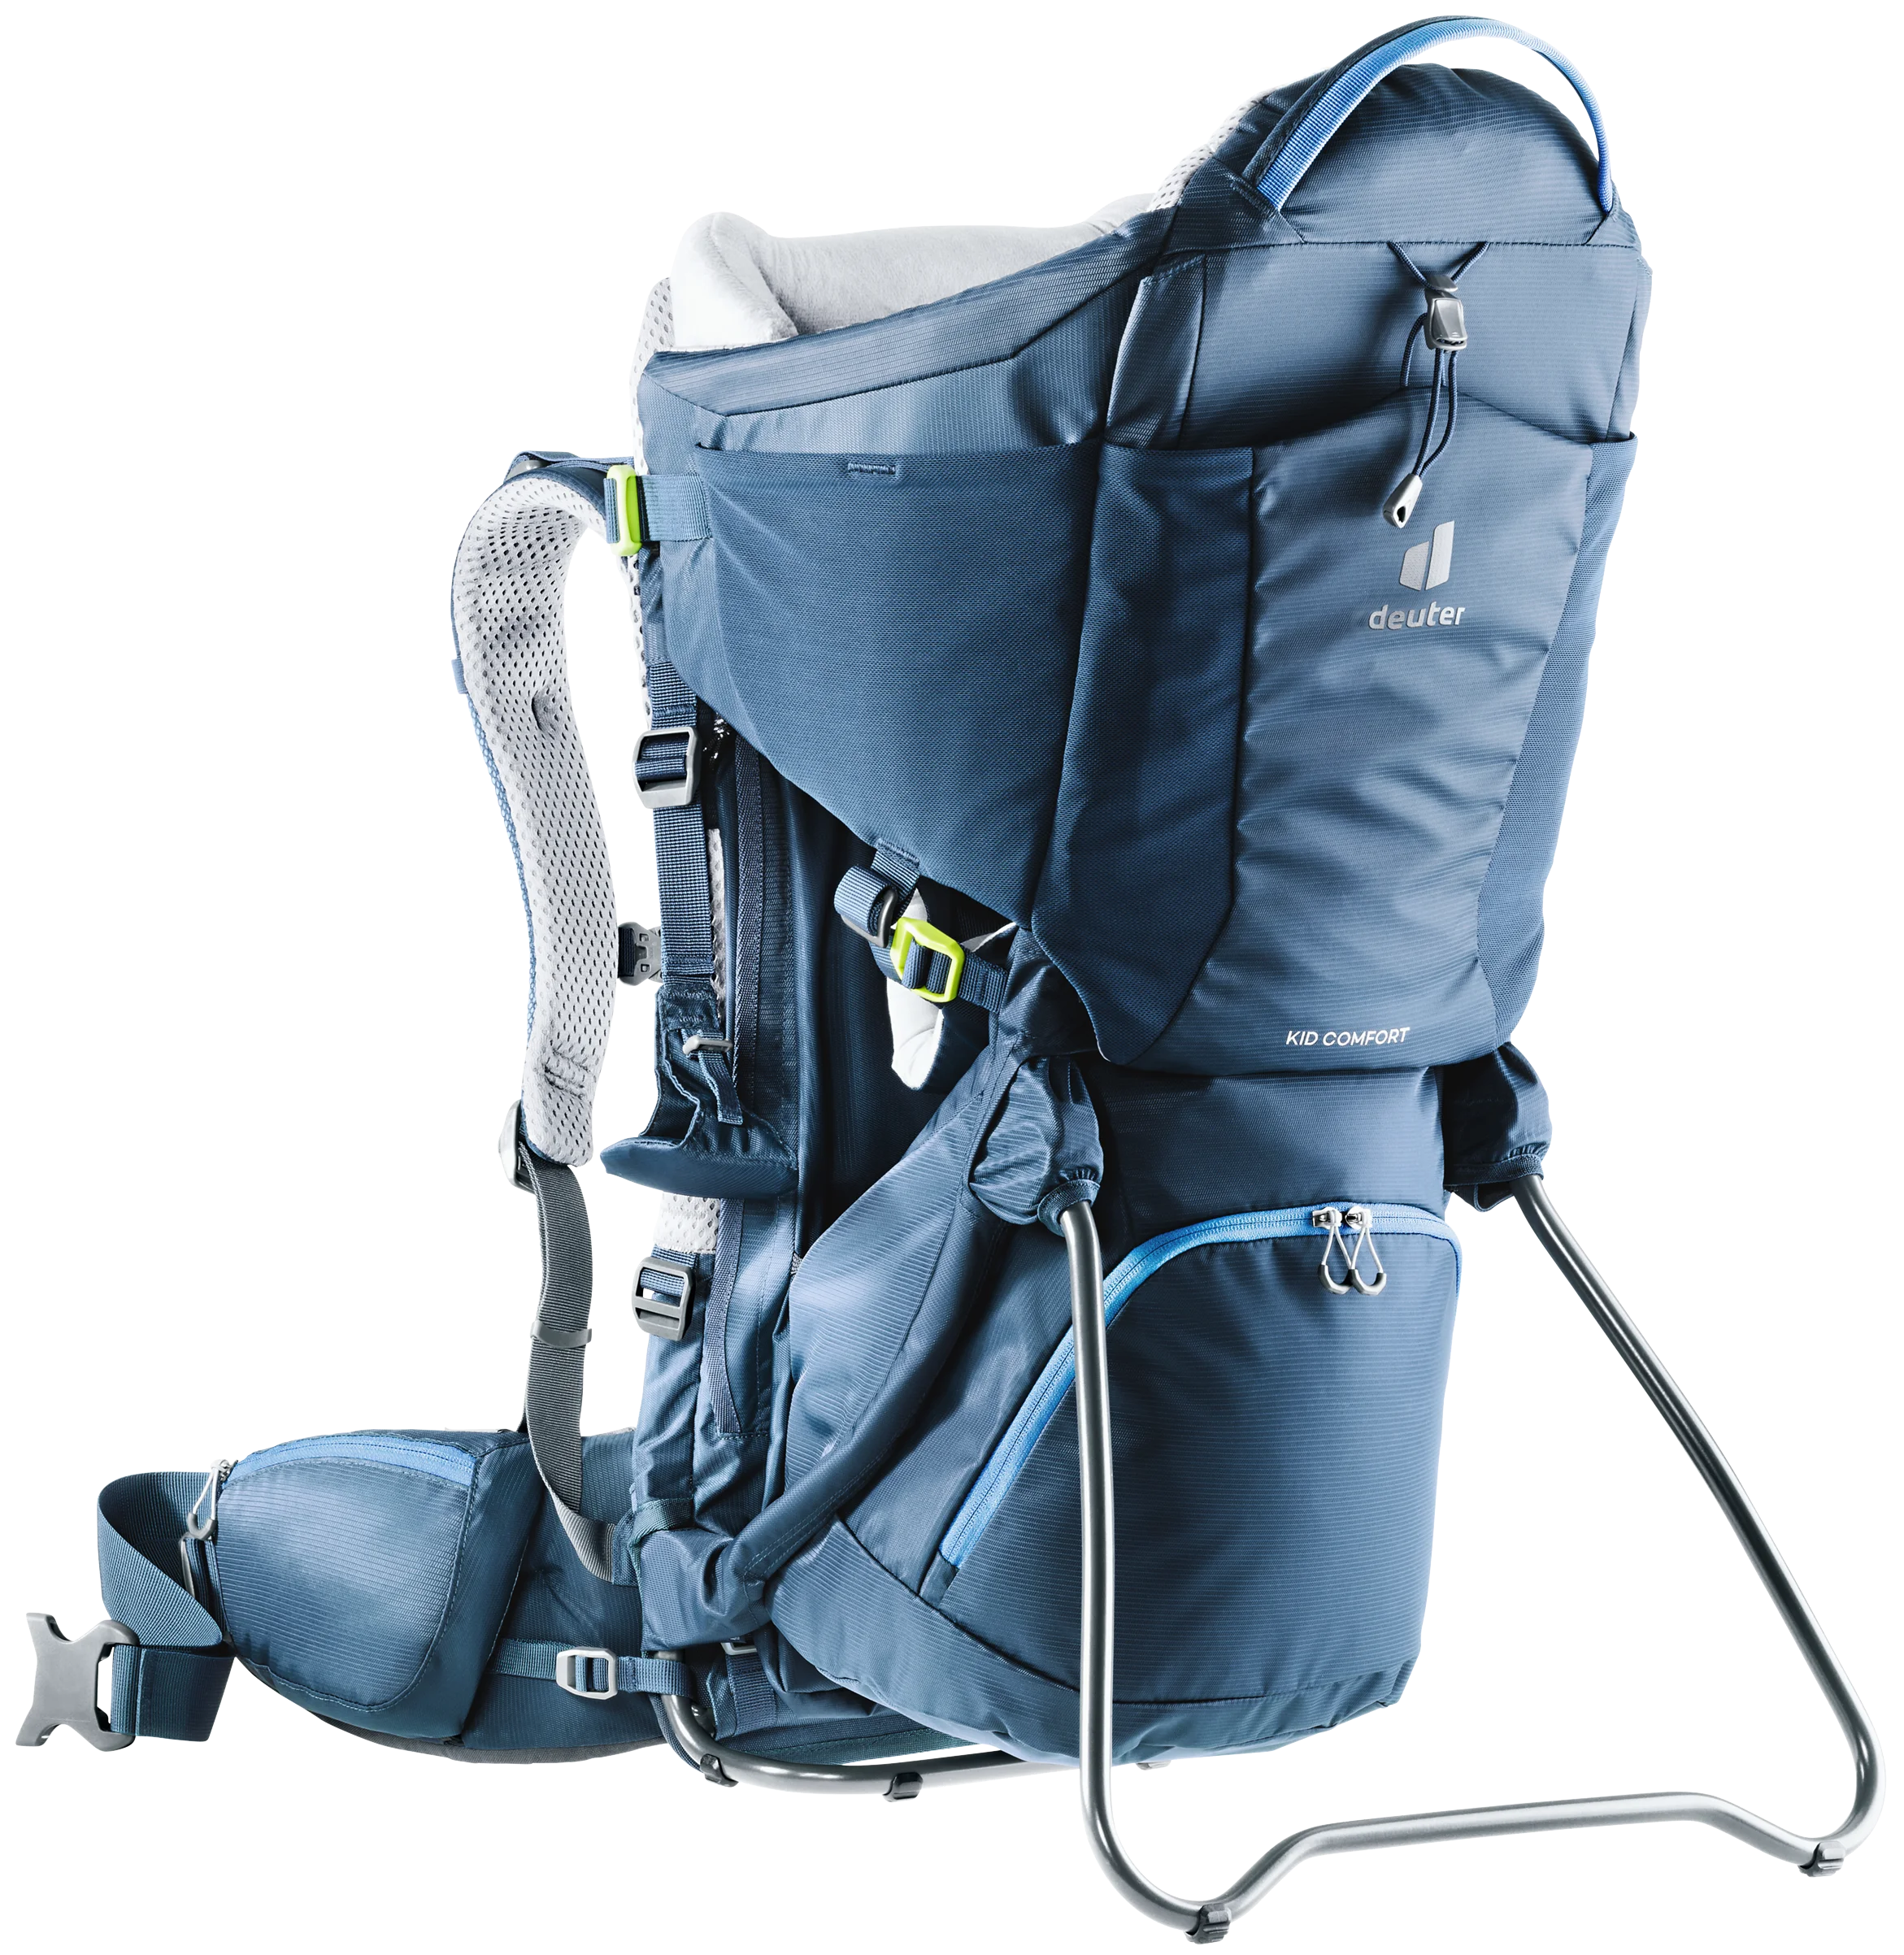
How to use a child carrier
Take your little ones on all your adventures into the great outdoors and share in the enjoyment of discovering exciting new paths.

FAQs
- Child carriers are suitable for up to what carrying weight?
- How do I properly adjust a child carrier?
- How do I determine the right seating position for my child?
- What is the correct way to put on the child carrier?
- How do I properly clean the child carrier?
- How do I properly attach or configure the sun roof?
- How do I properly attach or configure the rain cover?
- Where is the hydration bladder placed?
- What do I need to do each time before using the child carrier?
- How do I check my child carrier for functionality?
- Can deuter test my child carrier for product safety?
- Is my child carrier repairable?
- How can I read the year of production or how can I find out the age of my child carrier?
- Where is the user manual?
- What are the differences between the Kid Comfort models?
- What accessories are available for the child carrier?
All about deuter child carriers in a video
What is the maximum carrying weight for child carriers?

You can start using a child carrier as soon as your child can sit up independently. Your child should be able to assume a sitting position on their own and have good head control. This usually starts at eight/nine months, but your child may learn this skill before or only after this milestone date.
The maximum load of the child carrier is 22 kg (18 kg for the child + 4 kg for the cargo). The product has been tested by TÜV up to this weight and complies with the European standard EN 13209-1:2022.
Since children develop at different rates, we cannot provide a figure for maximum body weight.
Properly adjusting the child carrier
Step 1: Adjust the child carrier to fit the person carrying


Step 2: Prepare the child's seat


Step 3: Attach and secure the child


How can I determine the right seating position for my child?

You can easily adjust the height of the seat, even when the child is already in a sitting position. To lower the seat, lift the buckle under the chin pad. To raise the seat, tighten the adjustment strap. Use your other hand to support the movement of the seat from below.
You have set the ideal sitting position once the child's chin is level with the seat height adjustment buckle.
A. The higher the position of the seat, the wider it will be, allowing for a natural spread-squat position for toddlers. The child’s legs should be slightly bent in the footrests.
B: The more the seat is lowered, the narrower it will be for an upright sitting position for slightly older children. Place the footrests here so that your child’s legs are neither dangling freely nor excessively bent. Finally, tighten the lower straps of the foot straps enough to prevent your child’s feet slipping off.
Putting on the child carrier correctly


.webp "deuter-kraxe-einstellen-1@2x (1)")


How to clean the child carrier
Place the kid carrier in a basin or bath tub and wash them using a pH-neutral soap (e.g., curd soap or a few drops of dishwashing liquid). Please do not use any aggressive cleaning agents! The best way to clean away dirt from the upholstery and belt straps is to use a mixture of vinegar essence and water. You can then easily remove dirt from the fabric coverings with a brush. You can clean sweat stains from the carrying system by manually rubbing the pieces together with soap and plenty of water. Then set out to air dry.
Hand wash only: do not place in the dryer or washing machine!
Please do not put any part of the carrier system in the washing machine, because the material will wear out from abrasion stress and can become damaged over time. Residues may often be left behind by detergents, which for example can irritate wearers with sensitive skin. The chemical reaction caused by the combination of sweat, detergent residues, and UV radiation will also decompose the materials faster.
And how to clean the chin pad correctly?
The removable chin pad is washable and can be cleaned by hand with lukewarm water and a neutral soap. Please air dry and do not place in the dryer.
How to attach and configure the sun roof?
First you must attach the sun roof or fold it out (for the Pro model) and secure it accordingly.
Important note: Check your child's skin regularly, because small children have very sensitive skin. Protect your child from UV rays by using the sun roof, which is available as an accessory for the Kid Comfort Active, included with the Kid Comfort, and permanently integrated into the Kid Comfort Pro. You should only obtain additional or spare parts from the manufacturer or our retail partners.
The following is a step-by-step guide to the product:


How to attach and configure the rain cover?
After attaching the sun roof, pull the rain cover over the child carrier from bottom to top. Then you can secure it using the two securing straps for the sun roof. To do this, thread the fastening strap through the side eyelets, which are located on the inside of the Rain Cover. Then click the straps back into the matching straps on the child carrier, located above the viewing window.
Important note: For safety reasons, we recommend attaching the rain cover without a child in the carrier!

Where do I place the hydration bladder?
Place the hydration bladder in the zippered compartment between the child and the back part of the child carrier. You can then thread the drinking tube through the elastic loop on the left shoulder strap (heart side). That way you can keep everything well stowed away.
What do I need to do each time before using the child carrier?
Before use, it should be checked whether all straps and buckles are functional.
Never use the baby carrier if it has been damaged (bent frame, broken buckles, open seams, etc.).
Never try to bend a bent frame back into its correct shape yourself.
How do I check my child carrier for functionality?
We recommend the following steps to check for yourself:
- Systematically check all buckles and harness clamps for proper function. To do this, close all buckles - tighten them - and open them up again.
- Check the components for cracks or small fractures/chips. When closed, the buckles should hold together securely and tightly.
- Pull all webbing straps and check that they are tight on the sutures. Check the webbing along its length to see if there is any damage (rubbing, mousing or fraying).
- Unfold the base of the frame and place the carrier on a flat surface. Press on the stretcher from above - the stretcher should rest firmly on the ground without giving much. If it strongly tilts or gives way, then you should take a closer look at the frame.
- Open seams and strength of the carrying system - Check whether the shoulder straps and hip belts and respective plastic components are firmly connected and have no cracks or breaks
- Our basic recommendation: Do not use child carriers older than 10 years (production year before 2011), as they no longer comply with current safety standards and norms. Furthermore, due to the aging and decomposition of natural material, further safety defects can occur which are not visible from the outside. Non-destructive testing is no longer possible here (e.g. testing of specified tensile strengths).
Can deuter test my child carrier for product safety?
Unfortunately, deuter cannot test your child carrier for safety and functionality. We recommend for you to check on your own before each use.
Your child carrier will no longer be functional after it has been tested in accordance with the standards.

How to find the production date of your child carrier
The production code is printed on a small white or black "flag". This can be found in the Kid Comfort's pack sack (the storage space underneath the child). The last two digits indicate the year of production, so it can be determined when the carrier was produced. It looks like this:

Please note that child carriers produced more than 10 years ago can no longer be repaired.
If you have any further questions, please contact our customer service.
Where is the user manual for my model?
You can download the user manual here.
What are the differences between the kid comfort models?


Accessories for the child carrier


Safety note

The deuter Kid Comfort was the first child carrier in the world to earn the TÜV / GS Seal
All materials are checked in advance and approved accordingly for production. We satisfy all TÜV criteria here and also use materials that comply with the Bluesign standard.